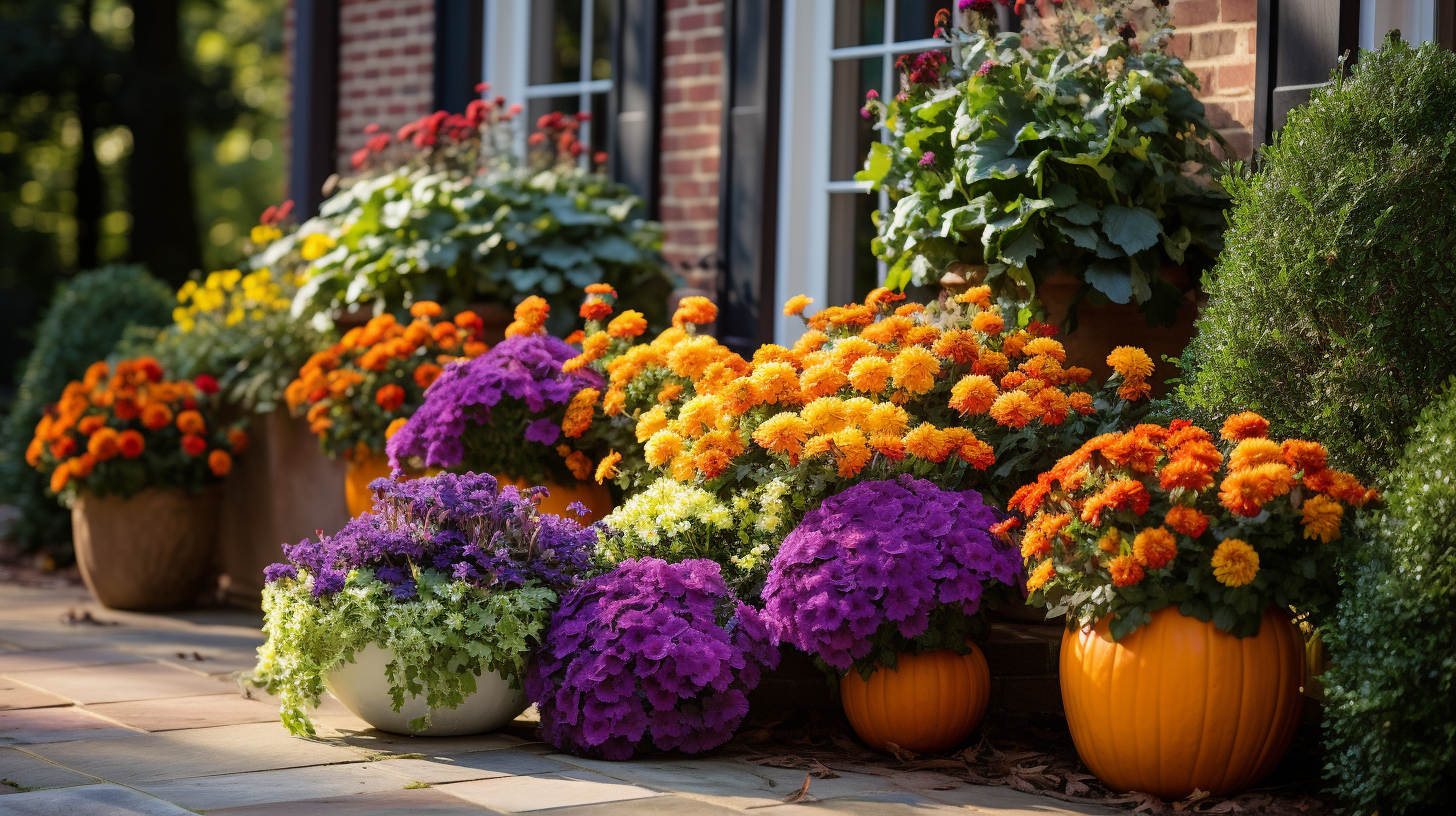
Do Mums come back every year? It’s a question that we are asked all the time. As we roll into fall, it’s time to embrace autumn’s crown jewels — the Marvelous Mums of Annapolis! As the crisp autumn breeze sweeps through Annapolis, it brings a burst of color that transforms gardens into vibrant tapestries. At the heart of this fall spectacle are the magnificent mums, nature’s way of celebrating the changing seasons. These versatile blooms, known scientifically as Chrysanthemums, are the crown jewels of any autumn garden in Annapolis. With a broad palette of colors, from fiery reds to sunlit yellows and deep purples, mums effortlessly complement the rich hues of fall foliage that grace this historic city.
Mums have become synonymous with the charm of Annapolis in the fall, and for good reason. Their resilience and adaptability make them a perfect match for the varied microclimates that Annapolis Gardens often present.

Whether bathed in the sun’s warm embrace or nestled in a more shaded nook, mums thrive, exuding their vibrant energy in every direction. For gardeners in Annapolis, this versatility allows for endless creativity in landscape design, as these blooms can be effortlessly integrated into both traditional and contemporary garden schemes.
With a bit of care, mums can be the stars of your Annapolis garden well into the frosty days of late fall. Deadheading spent blooms and providing ample moisture ensures a continuous display of color, while a balanced fertilizer fortifies them against the brisk autumn winds. For those looking to celebrate the season’s arrival with a burst of nature’s best, the mums of Annapolis stand ready, inviting gardeners to weave their magic into the fall landscape. Their vibrant presence is not just a testament to the changing seasons but a tribute to the enduring beauty of Annapolis, MD.
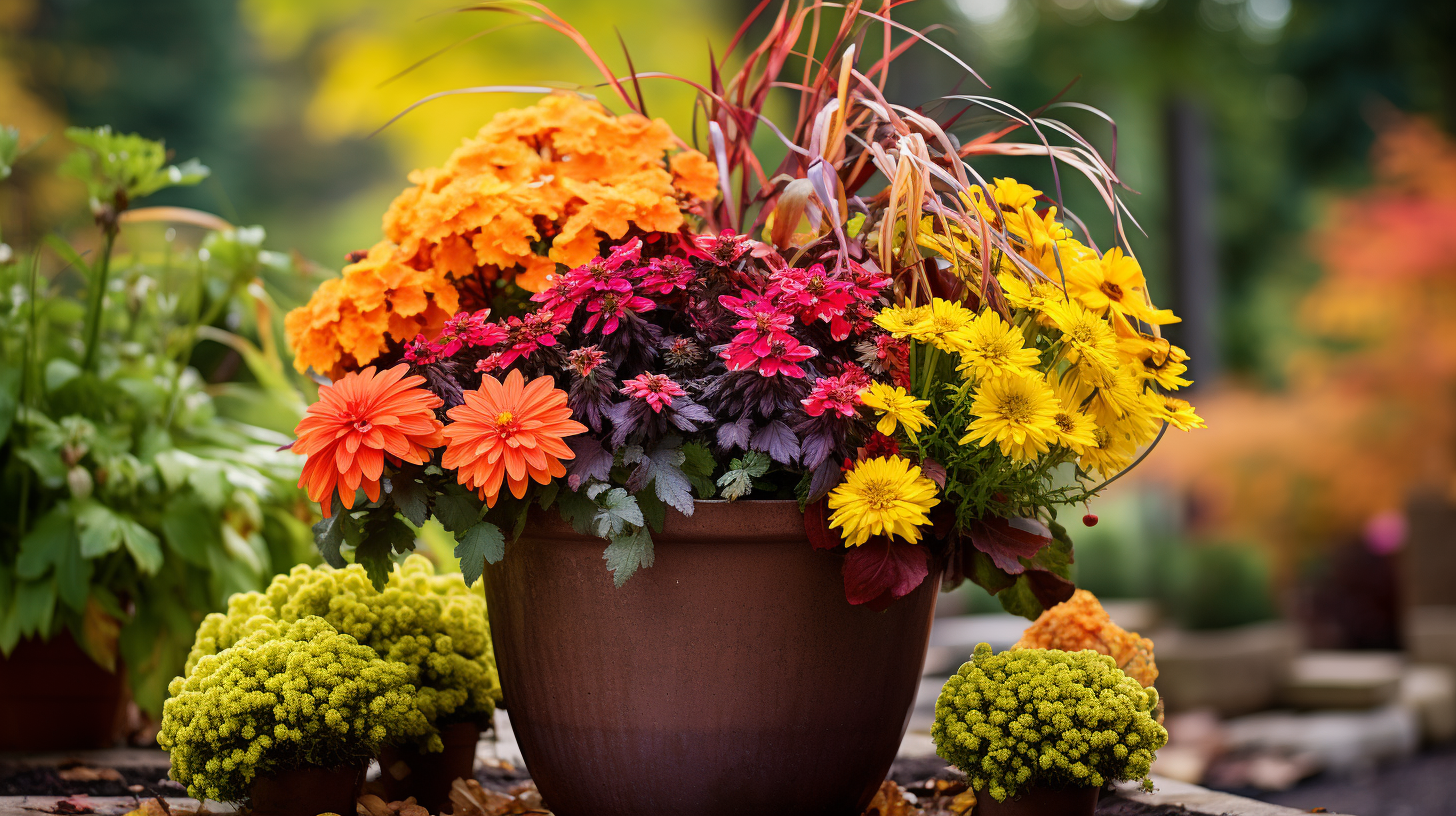
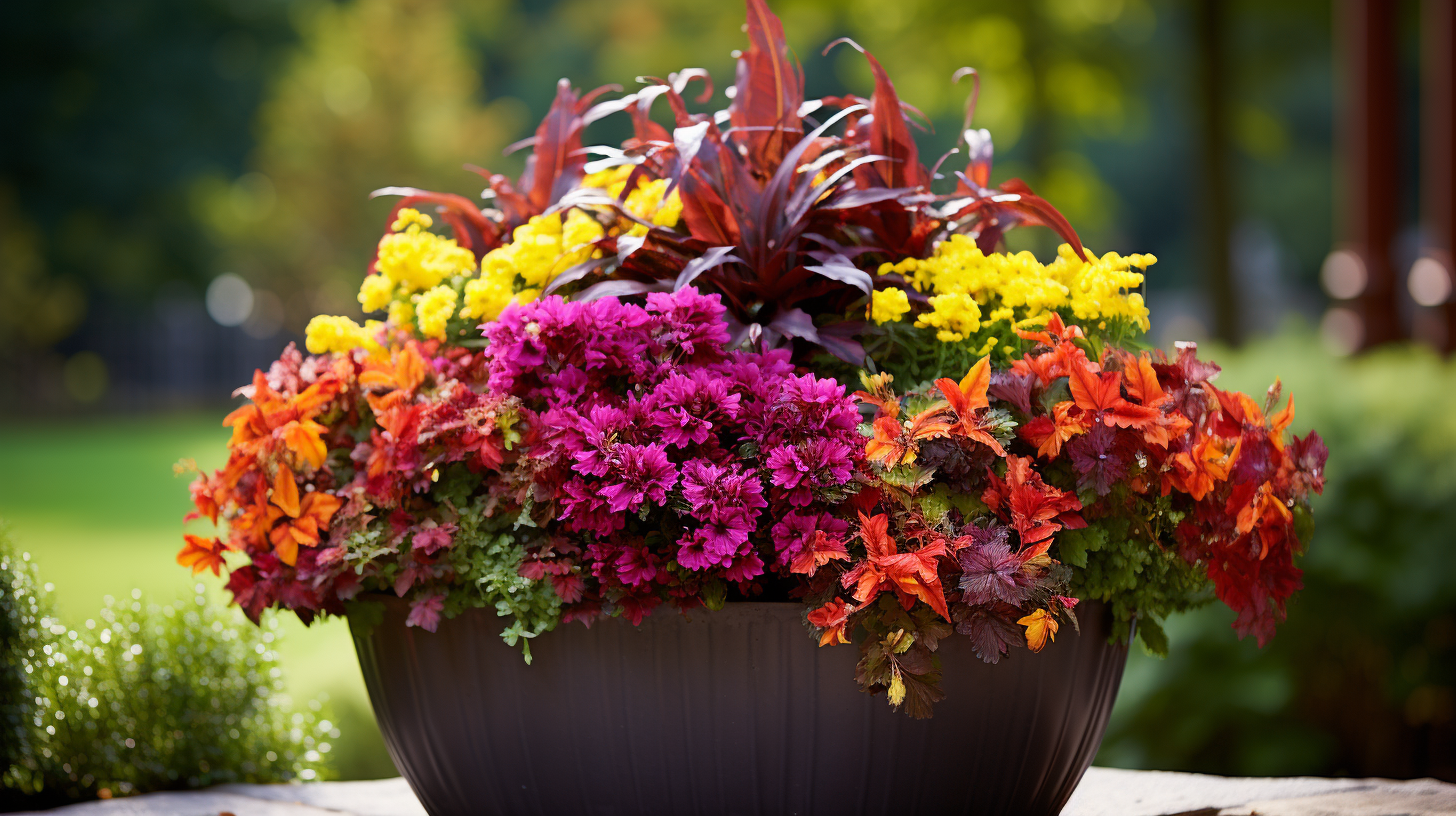
Planting Mums in Pots
- Selecting the Right Pot: Choose a container at least 12 inches in diameter with drainage holes at the bottom. This ensures proper drainage and prevents waterlogged soil, which can harm mums.
- Choosing the Right Soil: Use a well-draining potting mix with good aeration. You can also add a layer of gravel or broken pottery pieces at the bottom of the pot to further aid drainage.
- Positioning the Mums: Place the mums in the center of the pot, ensuring the root ball is level with the top of the pot. If you’re planting multiple mums in one pot, space them evenly to allow for proper growth.
- Filling in with soil: Gently fill the pot with potting mix around the mums, ensuring the roots are well-covered. Firmly press the soil to eliminate air pockets.
- Watering: Give the mums a thorough watering. Water until you see it draining out of the bottom of the pot. Ensure the soil is consistently moist but not waterlogged.
- Placement: Position the potted mums in a location where they receive at least six hours of sunlight per day. Mums thrive in full sun.
- Maintenance: Deadhead spent blooms regularly to encourage continuous flowering. Additionally, feed the mums with a balanced, water-soluble fertilizer every two to four weeks during the growing season.
Planting Mums in the Ground
- Selecting the Planting Site: Choose a location with well-draining soil that receives at least six hours of sunlight daily. Avoid areas prone to waterlogging.
- Preparing the Soil: Loosen the soil to a depth of about 12 inches. Incorporate organic matter like compost or well-rotted manure to improve soil structure and fertility.
- Digging the Hole: Dig a hole slightly wider and deeper than the root ball of the mum. Ensure the hole is deep enough to accommodate the roots without crowding or bending.
- Placing the Mum: Gently place the mum into the hole, ensuring it sits at the same depth as in its original container. The top of the root ball should be level with the surrounding soil.
- Backfilling and Firming: Fill the hole with the soil you removed, gently tamping it to eliminate air pockets. Water the area to help settle the soil.
- Watering and Mulching: Water the newly planted mum thoroughly. Apply a layer of organic mulch (like straw or wood chips) around the base, but ensure it doesn’t touch the stems.
- Spacing: If planting multiple mums, space them according to the specific variety’s recommendations for proper air circulation and growth.
- Maintenance: Water regularly, especially during dry spells and deadhead spent blooms, to encourage continuous flowering. Fertilize with a balanced, slow-release granular fertilizer in early spring and again in mid-summer.
Following these steps will give your mums the best chance to thrive in pots or planted directly into the ground.
Do Mums Come Back Every Year in Pots?
Mums (Chrysanthemums) are considered perennial plants, meaning they can return year after year under the right conditions. However, when grown in pots, their ability to survive the winter and return in subsequent years can be more challenging compared to when they are planted directly in the ground.
Here are a few factors to consider when growing mums in pots to overwinter them:
- Winter Hardiness: The specific variety of Mums you have plays a significant role. Some varieties are more cold-hardy than others. Look for Mum cultivars labeled as “hardy” or “garden Mums” better suited for overwintering.
- Insulation: Pots provide less insulation than soil in the ground. To improve the chances of survival, consider using a larger, well-insulated pot. Additionally, you can place the pot in a larger decorative container or wrap it with bubble wrap or burlap for added insulation.
- Root Protection: In colder climates, the roots in a pot are more exposed to freezing temperatures. To mitigate this, you can move the pots to a sheltered location, such as a covered porch or garage, during the coldest parts of winter.
- Mulching: Apply a layer of mulch on top of the soil in the pot to help regulate soil temperature and protect the roots from extreme cold.
- Watering: During winter, mums in pots may need less water as they go dormant. Be sure to check the soil moisture periodically, allowing it to dry out slightly between watering.
- Monitor for Signs of Growth: In the spring, keep an eye out for signs of new growth. Once you start seeing new shoots, it indicates that your mums have survived the winter and are ready to grow again.
Despite these efforts, it’s important to note that overwintering mums in pots can be less successful than planting them in the ground. If you’re in an area with harsh winters, consider planting mums directly in the garden for the best chance of perennial success.

What is the Best Potting Soil for Mums in Pots?
When planting mums in pots, choosing a high-quality potting mix that provides good drainage and retains moisture while also supplying essential nutrients is important. Here are some factors to consider when selecting the best potting soil for Mums in pots:
- Well-Draining: Mums do not like to sit in waterlogged soil. Look for a potting mix that provides excellent drainage to prevent root rot and other water-related issues.
- Moisture Retention: While drainage is crucial, you also want a mix that retains enough moisture to hydrate the roots adequately. A balance between drainage and moisture retention is vital.
- Nutrient-Rich: Mums benefit from nutrient-rich soil to support healthy growth and abundant blooms. Look for a potting mix with added organic matter or slow-release fertilizers.
- pH Level: Mums prefer slightly acidic to neutral soil (pH around 6.0 to 7.0). Most commercial potting mixes are within this pH range, but it’s a good idea to check the product label to be sure.
- Sterile and Disease-Free: Ensure the potting mix is sterile and free from pests and diseases, as these can harm your mums.
- Lightweight: Lightweight potting mixes are easier to work with and provide good aeration for the roots.
- Brand Recommendations: Some reputable brands that produce quality potting mixes suitable for mums include Miracle-Gro, Espoma, FoxFarm, and Pro-Mix. You can also create a custom mix by blending a general-purpose potting mix with perlite or coarse sand to improve drainage further. Remember to choose a pot with drainage holes at the bottom to allow excess water to escape.
When potting your Mums, ensure that the potting mix is well-moistened but not waterlogged. Proper watering practices and the right potting mix will help your potted mums thrive and produce vibrant blooms throughout the growing season.
Can Mums Survive Winter?
Yes, mums (Chrysanthemums) can survive winter. Still, their ability to do so depends on several factors, including the specific variety of Mum, local climate conditions, and how they are cared for during winter.
Here are some considerations for helping mums survive winter:
- Variety Selection: Some mum varieties are more cold-hardy than others. Look for cultivars labeled as “hardy” or “garden Mums” if you’re in an area with colder winters.
- Planting Time: It’s best to plant Mums in the spring or early summer, giving them ample time to establish strong roots before the arrival of winter.
- Soil Preparation: Well-draining soil is crucial for winter survival. Suitably amended soil allows for good root development and reduces the risk of waterlogged roots during periods of freezing and thawing.
- Mulching: Apply a layer of mulch around the base of the plant in the late fall. Mulch helps regulate soil temperature, retain moisture, and protect roots from extreme cold.
- Pruning: Trim back the spent blooms and leggy growth in the late summer or early fall. However, avoid heavy pruning in the late fall or winter, as it can stimulate new growth that is vulnerable to cold temperatures.
- Watering: Adequate hydration is essential, especially in the weeks leading up to winter. Well-hydrated plants are better equipped to withstand freezing temperatures.
- Location: Plant Mums in an area that receives full sun, encouraging vigorous growth and preparing the plant for winter.
- Shelter and Wind Protection: In areas prone to strong winds or severe winter weather, consider providing some form of windbreak or cover for the plants.
- Snow Cover: In regions with heavy snowfall, the snow can actually provide insulation to the plants, protecting them from extremely cold temperatures.
- Monitor for Signs of Stress: Keep an eye on your mums during the winter. If you notice any signs of stress, such as wilting, browning, or damage, take appropriate measures to protect them.
While Mums are generally considered hardy plants, it’s important to remember that extreme conditions can still be challenging. In particularly harsh climates, additional measures like covering with burlap or moving pots to a sheltered area may be necessary.
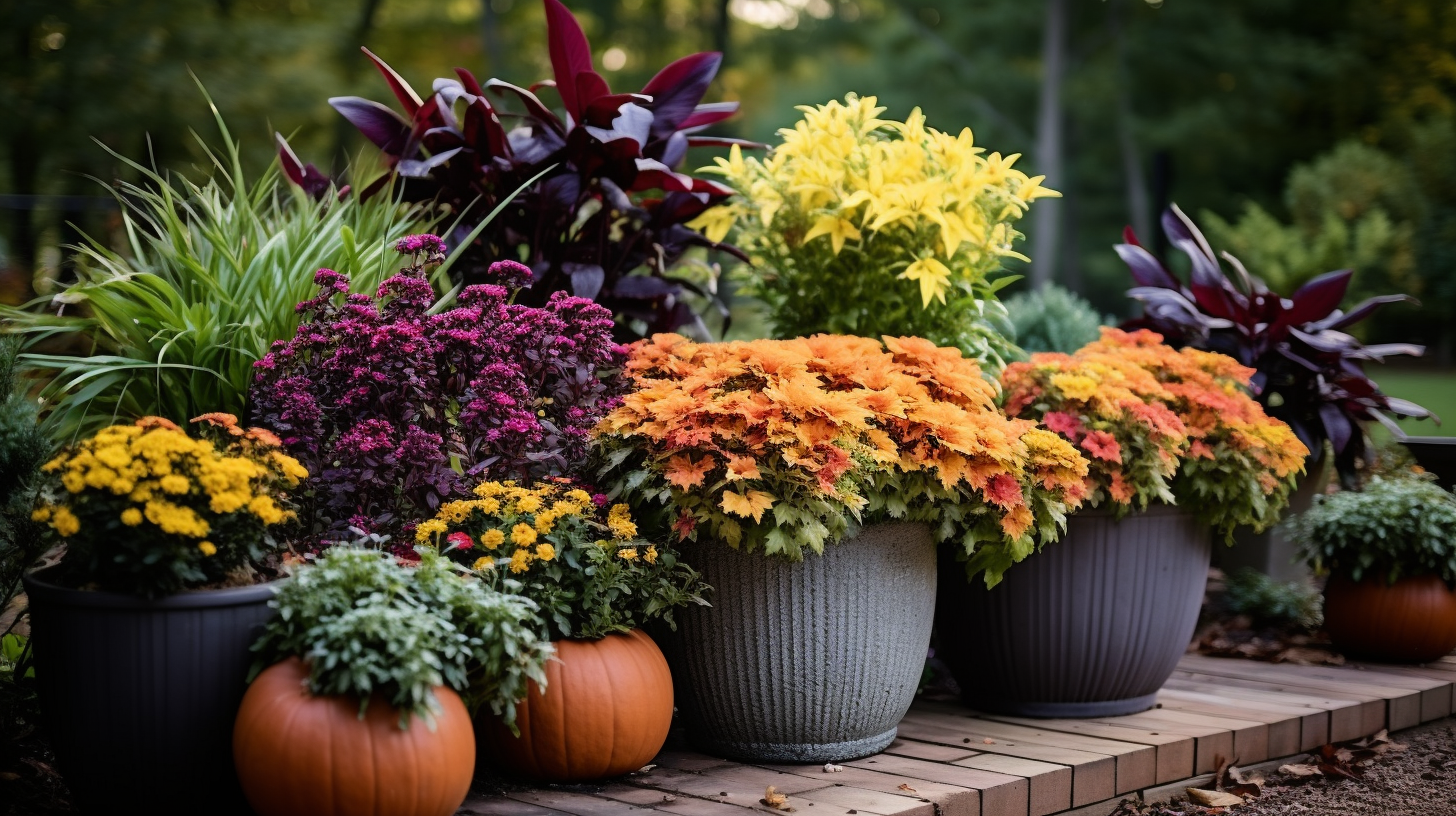
What can I plant with mums?
Mums (Chrysanthemums) are incredibly versatile and can be paired with a variety of plants to create beautiful, harmonious garden combinations. Here are some great options to consider planting alongside mums:
- Ornamental Kale and Cabbage: These cold-weather plants offer contrasting textures and colors that complement mums beautifully. Their bold, frilly leaves add interest to fall displays.
- Pansies and Violas: These cool-season annuals come in various colors and add a charming touch to fall plantings. They thrive alongside mums and provide continuous blooms.
- Asters: These late-blooming perennials are available in various colors, making them an excellent companion for mums. Their daisy-like flowers add a pop of color to fall gardens.
- Ornamental Grasses: Tall, wispy grasses like Fountain Grass or Switchgrass create a lovely contrast with mums. They add movement and texture to your fall garden.
- Sedum: With their succulent foliage and late-season blooms, sedums perfectly match mums. They come in a range of colors and sizes, providing interest throughout the fall.
- Heuchera (Coral Bells): These perennial plants offer stunning foliage in various shades of green, purple, and burgundy. Their mounding habit complements the upright growth of mums.
- Russian Sage: This perennial adds a haze of silvery-blue color to fall gardens and pairs well with the warm hues of mums. It’s also known for attracting pollinators.
- Lavender: With its aromatic foliage and purple blooms, lavender complements the colors of mums beautifully. It’s also a favorite of bees and butterflies.
- Dusty Miller: Its silvery-gray foliage adds a unique contrast to the vibrant colors of mums. It’s drought-tolerant and provides a soft, textural element to your garden.
- Dianthus (Sweet William): These compact perennials or biennials produce clusters of small, colorful blooms that pair well with Mums. They’re also known for their pleasant fragrance.
- Black-Eyed Susans: These bright, daisy-like perennials add a burst of late-summer color that complements the fall tones of Mums.
- Salvia: Tall, spiky salvias like ‘May Night’ or ‘Caradonna’ provide vertical interest and a vivid splash of color that works well with Mums.
Remember to consider the specific growing requirements of each plant, including sun exposure, soil type, and water needs, when planning your combinations. You’ll create a harmonious and visually appealing garden by selecting plants that thrive under similar conditions. Happy planting!

Can I Plant Potted Mums in the Ground?
Yes, you can absolutely plant potted mums in the ground. In fact, this is a great way to enjoy the beauty of mums in your garden while allowing them to establish themselves and return in subsequent years.
Here’s a simple guide to transplanting potted mums into the ground:
- Choose the Right Location: Select a spot in your garden that receives at least six hours of sunlight daily. Ensure the soil is well-draining to prevent waterlogged roots.
- Prepare the Planting Hole: Dig a hole slightly wider and deeper than the root ball of the potted mum. This gives the roots room to spread out.
- Remove the Mum from the pot: Gently tap the sides and bottom of the pot to loosen the roots. Carefully slide the mum out of the pot. If it’s stuck, you can use a knife to make a few vertical cuts along the sides of the root ball.
- Position in the Hole: Place the mum in the hole, ensuring the top of the root ball is level with the surrounding soil.
- Backfill and Firm the Soil: Fill the hole with the soil you removed, gently tamping it down to eliminate air pockets. Water the area to help settle the soil.
- Water Thoroughly: Give the transplanted mum a thorough watering to help it settle into its new home.
- Mulch Around the Base: Apply a layer of organic mulch (like straw or wood chips) around the base of the mum. This helps retain moisture and regulates soil temperature.
- Monitor and Maintain: Keep an eye on your mum for the first few weeks after transplanting. Ensure it gets adequate water and remove any dead or spent blooms.
For more information, here is a great video about Mums and how to care for them! Following these steps will give your potted mum the best chance of thriving in her new garden home. Remember that Mums are perennials, so they can return and bloom in subsequent years with proper care.

Homestead Gardens Annual Fall Festival
If you’re local to Annapolis, then you know all about our Homestead Gardens Annual Fall Festival and how it reigns as the grandest in the region! A cherished fall tradition spanning 37 years, Homestead’s “FallFest” exuberantly celebrates all things autumn, from the kaleidoscope of changing foliage and the gentle cascade of leaves to the warm embrace of spiced cider, the vibrant allure of mums, the irresistible aroma of homemade donuts, and the enchantment of sprawling pumpkin patches. FallFest presents an array of captivating attractions, demonstrations, and entertainment catering to kids of all ages. It’s a blast so we will see you there!
Mark your calendars for the 2023 Fall Festival, set to unfurl its seasonal magic on Saturday, September 30th, and continue the festivities each weekend until Sunday, October 22nd. Join us at our Davidsonville location for a memorable journey through the heart of autumn.
For more information, click here.
